
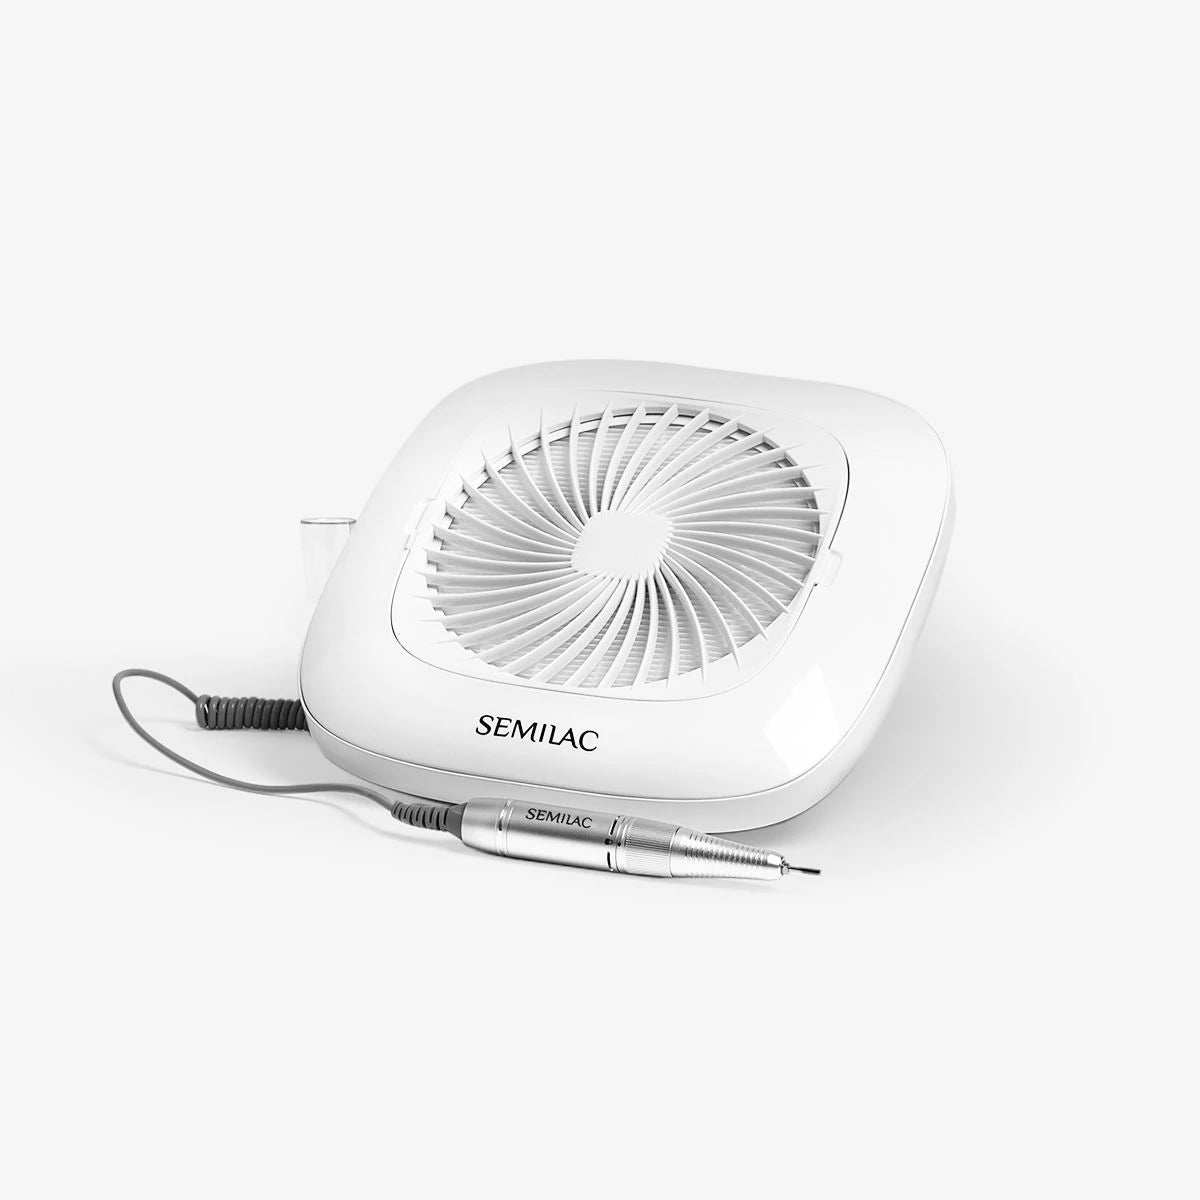
The ergonomic shape of the No Dust electric nail drill means 2 combined devices: the electric nail drill for manicure and the integrated dust collector.
The integrated dust collector removes dust from nails that is created during the manicure procedure.
It has a replaceable filter.
Guarantee of cleanliness and safety.
Dust collector is easy to clean.
It has smooth rotation regulation up to 30,000 RPM.
Safe and quiet operation without vibrations.
The touch panel guarantees smooth rotation regulation and change of the rotation direction.
Touch panel for controlling the collector operating mode.
Quick and easy to replace the filter.
Simple system for changing drill bits.
Device power: 48 W
Dust collector power: 216m3/h
The set includes:
Dust collector (1x)
Head – handle of the electric nail drill (1x)
Head grip (1x)
Power cable (1x)
The drill comes with a 12-month warranty.
Please note: drill bits are not included.


Professional Products for Quality Manicures
Professional solution for quick and safe UV gel polish removal.
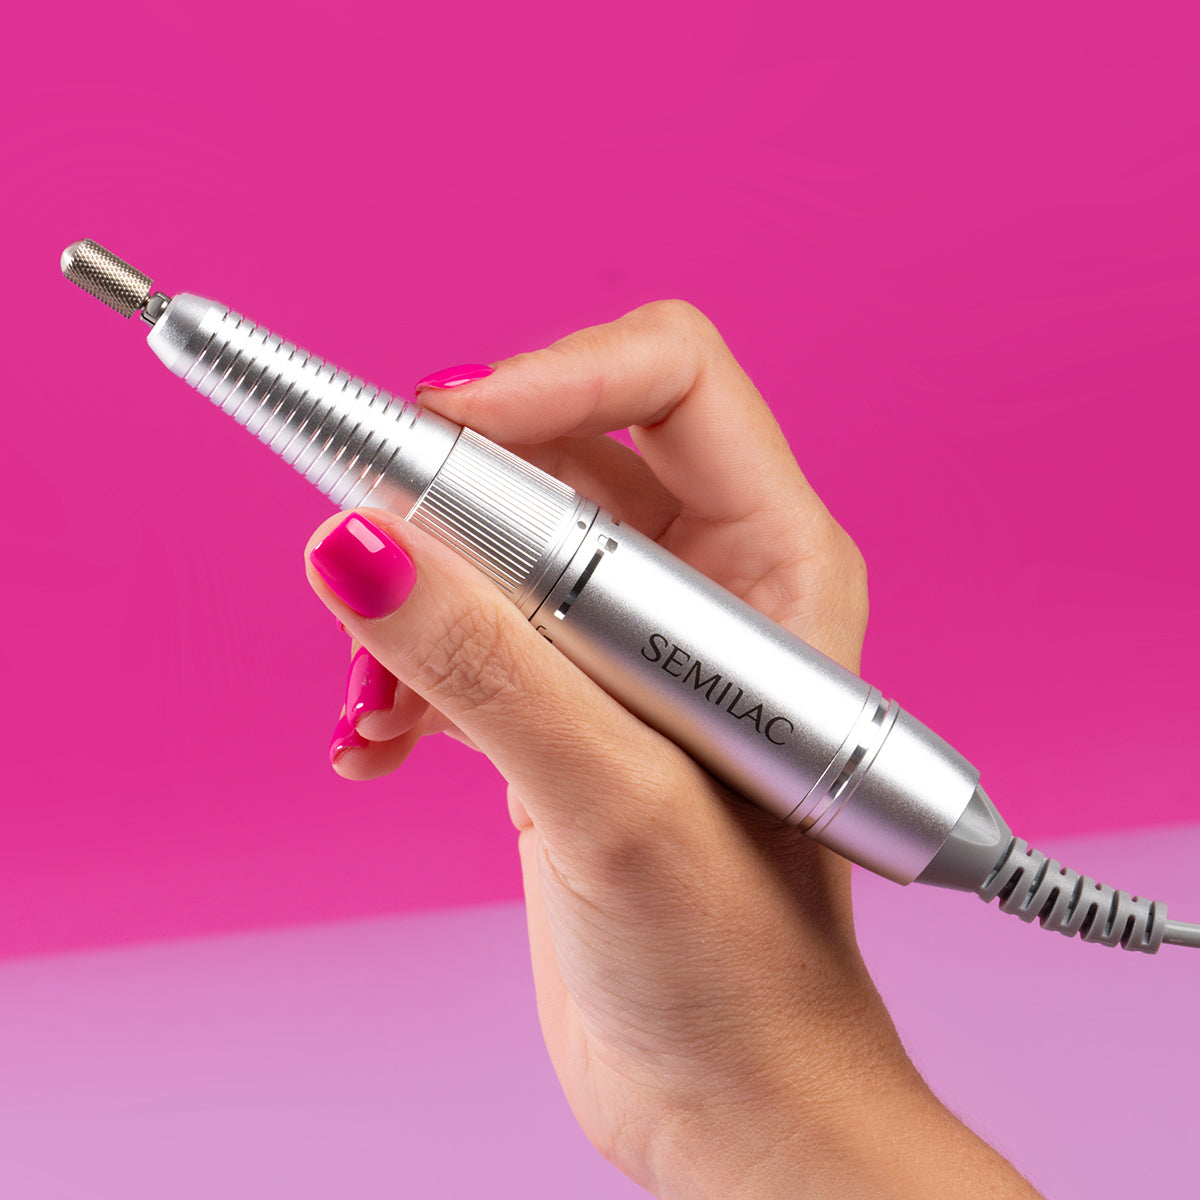
This is a high-quality manicure device, with which you will easily work on cuticles, prepare the nail plate and remove UV gel manicure in your own home.
Thanks to the integrated bagless dust collector, you not only gain some extra space on your desk when creating the nail art but also take care of your health. The integrated dust collector removes dust from nails that is created during the manicure procedure, so it eliminates the exposure to inhaling harmful particles to a significant extent.
Inside, it has a special filter that absorbs dust and ensures that it does not get outside. The touch panel guarantees smooth rotation regulation, change of the drilling direction and easy control of the collector operating mode. Light and ergonomic handle ensures the operation without any vibrations.
Dimensions: 250.3 x 250.3 x 69 mm
Net weight: 1.51 kg
Rotational speed: 30,000 RPM
Input voltage: 110–240 V 50/60 Hz
Output voltage: 24 VDC / 2 A
Power: 48 W (max)
INTENDED USE OF THE ELECTRIC NAIL DRILL
Step 1: Choose the drill bit, release the holder, place the drill bit in the head and lock.
Step 2: Connect the handle with the cable to the nail drill socket in the device.
Step 3: Connect the power device to the power control via the DC power jack.
Step 4: Press the START/POWER button on the device. The first touch of the fan icon activates a faster operating mode, after the second touch of the icon the device switches into a slower operating mode.
Step 5: Choose the mode (high/low) and start work.
Step 6: Choose ‘+’ or ‘-’ to increase or decrease the rotational speed of the electric nail drill.
Step 7: If necessary, change the rotation direction of the electric nail drill using the arrow button after reducing the rotations of the electric nail drill to 0.
Step 8: Press the START/POWER button to turn the device off and disconnect the adapter if the device is not to be used for a longer period of time.
FILTER REPLACEMENT
• Make sure that the device is turned off and then lift the filter upper cover with holes.
• Pull the fabric strip to pull out the whole filter.
• Insert a new filter and then replace the filter cover.
DRILL BIT REPLACEMENT
• Turn the locking mechanism of the drill bit to the left so that the arrow lines up with the unlocked padlock symbol (you should hear a ‘click’) and then place the Semilac drill bit in the head so that the distance between the end of the handle and the beginning of the drill bit head is approx. 5–10 mm. This distance depends on the length of the shank on which the drill bit head is placed and the individual techniques of the person operating the device.
• After placing in the handle, the drill bit should not protrude too much as it may cause the handle to vibrate and make the device loud.
• The drill bit should not reach the very end of the head as pressing it too strongly may cause damage to the head mechanism.
• If, after placing the drill bit in the sleeve, we feel resistance (it is inserted all the way in), it should be pushed forward by a few milimetres. After the correct placement of the drill bit, turn the locking mechanism of the drill bit to the right so that the arrow lines up with the locked padlock symbol (you should hear a ‘click’).
NOTE
• Disconnect the power supply if the dust collector is not used.
Product Description
Payment & Security
Your payment information is processed securely. We do not store credit card details nor have access to your credit card information.