In this article, we will guide you through the entire process, from prepping your natural nails to applying the UV gel polish and finishing with a beautiful top coat. Whether you're a beginner or an experienced nail enthusiast, our easy-to-follow instructions will help you master the art of UV gel nails on forms.
Get ready to unleash your creativity and experiment with various colours and designs. Our tutorial will not only save you money but also give you the satisfaction of creating your own personalized nail designs. So, grab your UV gel nail kit, clear your schedule, and get ready to turn heads with your stunning UV gel nails!
Remember, practice makes perfect, so don't be discouraged if your first attempt isn't flawless. Keep honing your skills, and soon enough, you'll be creating picture-perfect UV gel nails that will leave everyone impressed. Let's get started!

Benefits of using forms for gel nails
Creating UV gel nails on forms offers several advantages over other nail enhancement techniques. One of the key benefits is the ability to create custom nail shapes. Unlike pre-formed tips, forms allow you to sculpt nails that perfectly complement your natural nail shape. This means you can achieve a more natural and personalized look.
Using forms also eliminates the need for glue or adhesive, which can be damaging to your natural nails. The forms provide a sturdy base for the UV gel polish, ensuring a long-lasting and durable manicure. Additionally, forms can help correct nail irregularities, such as uneven nail beds or ridges, giving you a smooth and flawless finish.

Essential tools and materials for creating UV gel nails on forms
Before we dive into the step-by-step process, let's make sure you have all the necessary tools and materials. Here's a list of what you'll need:
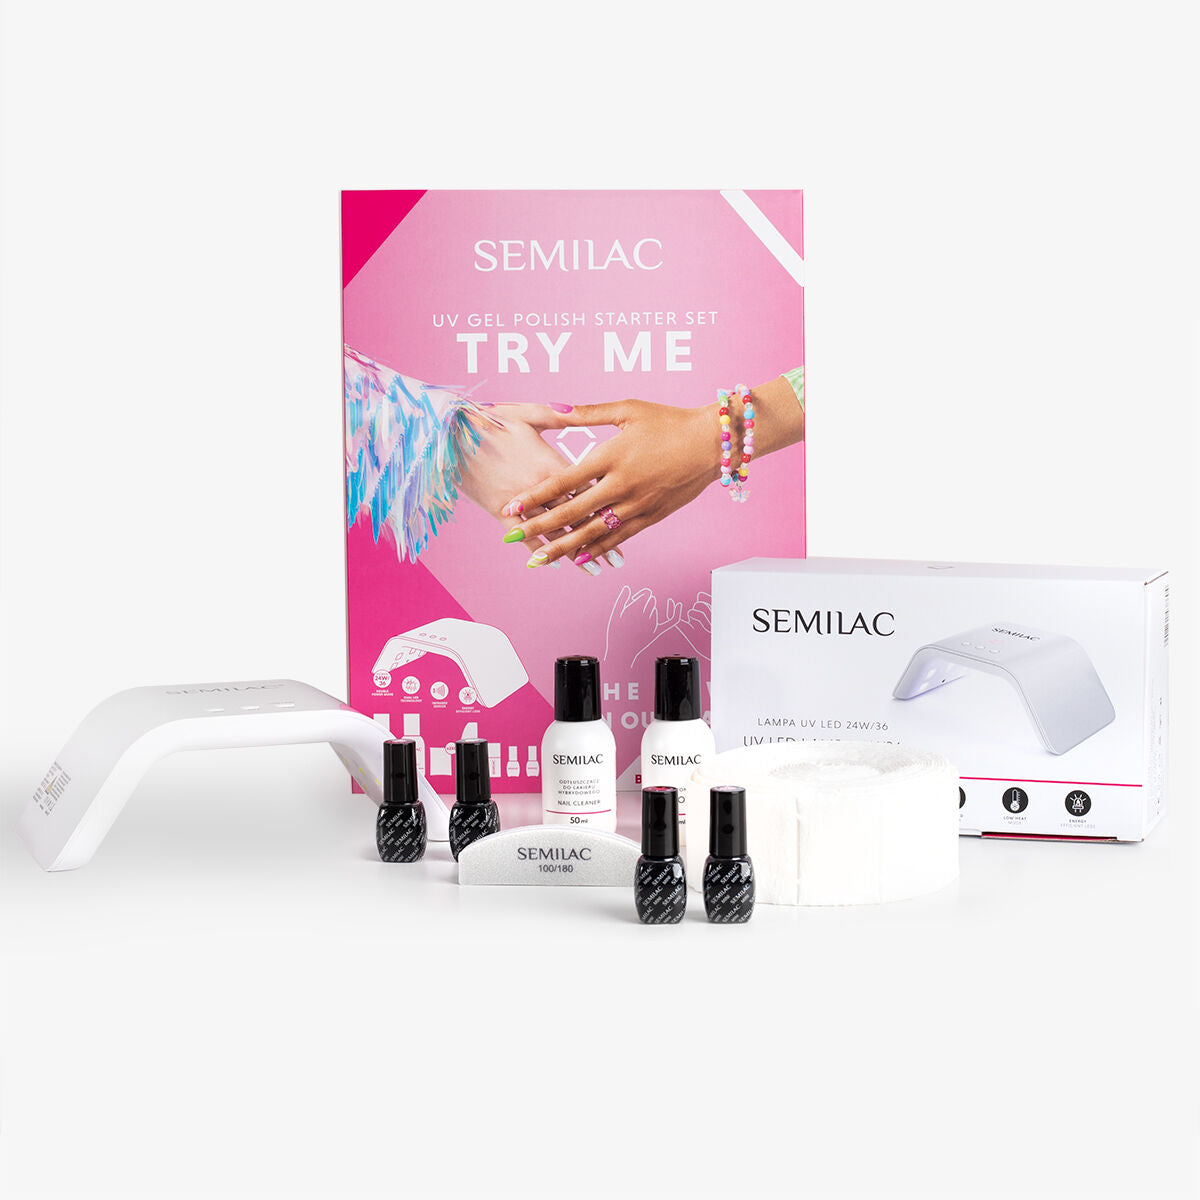
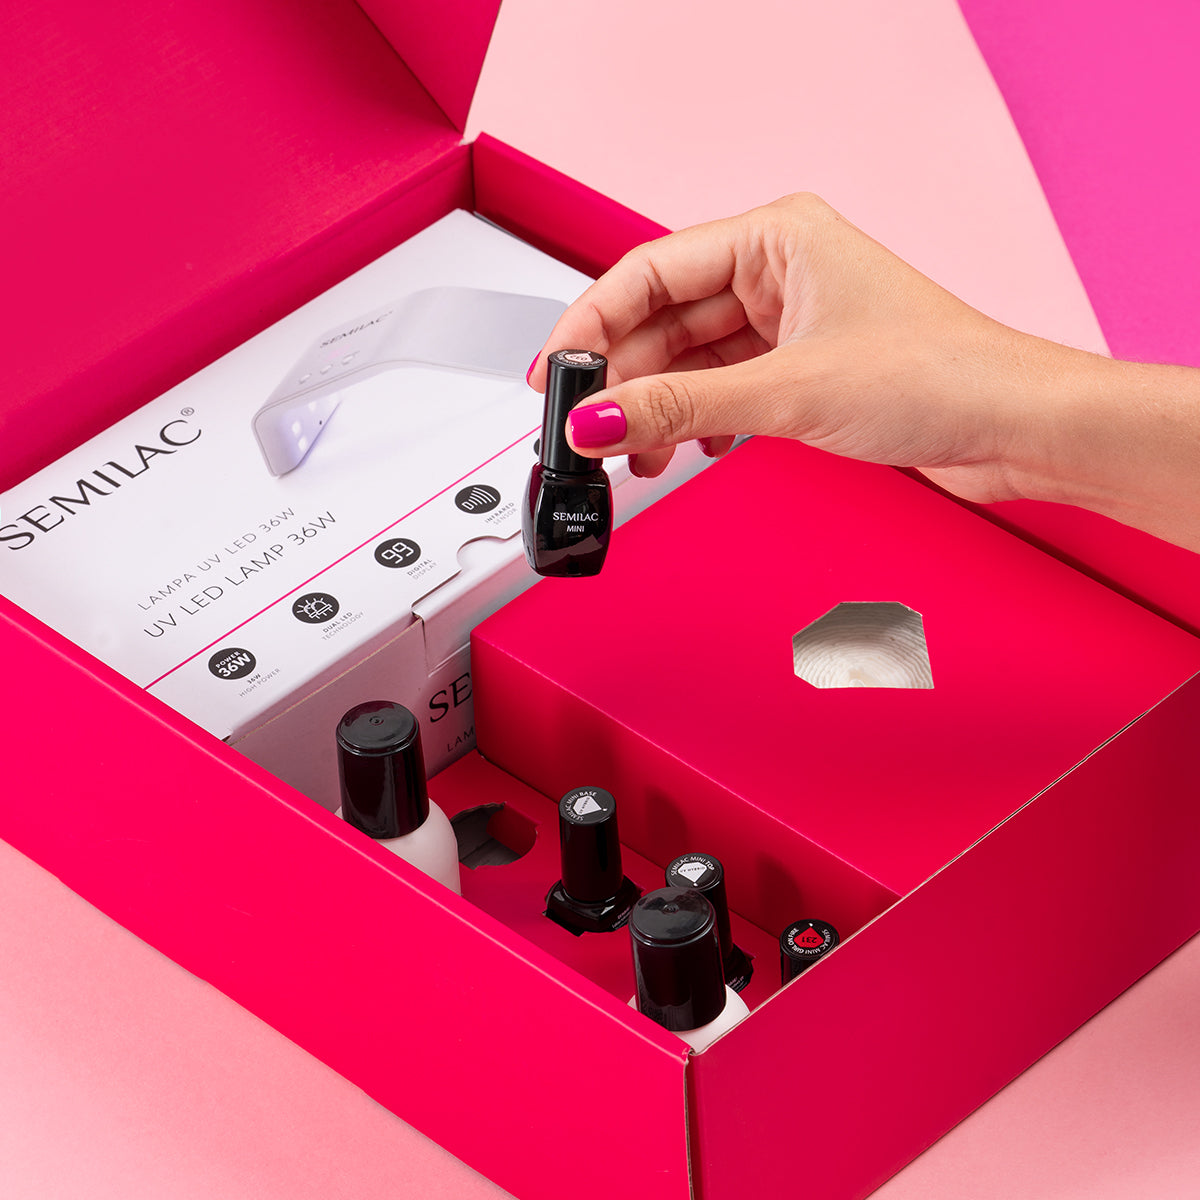
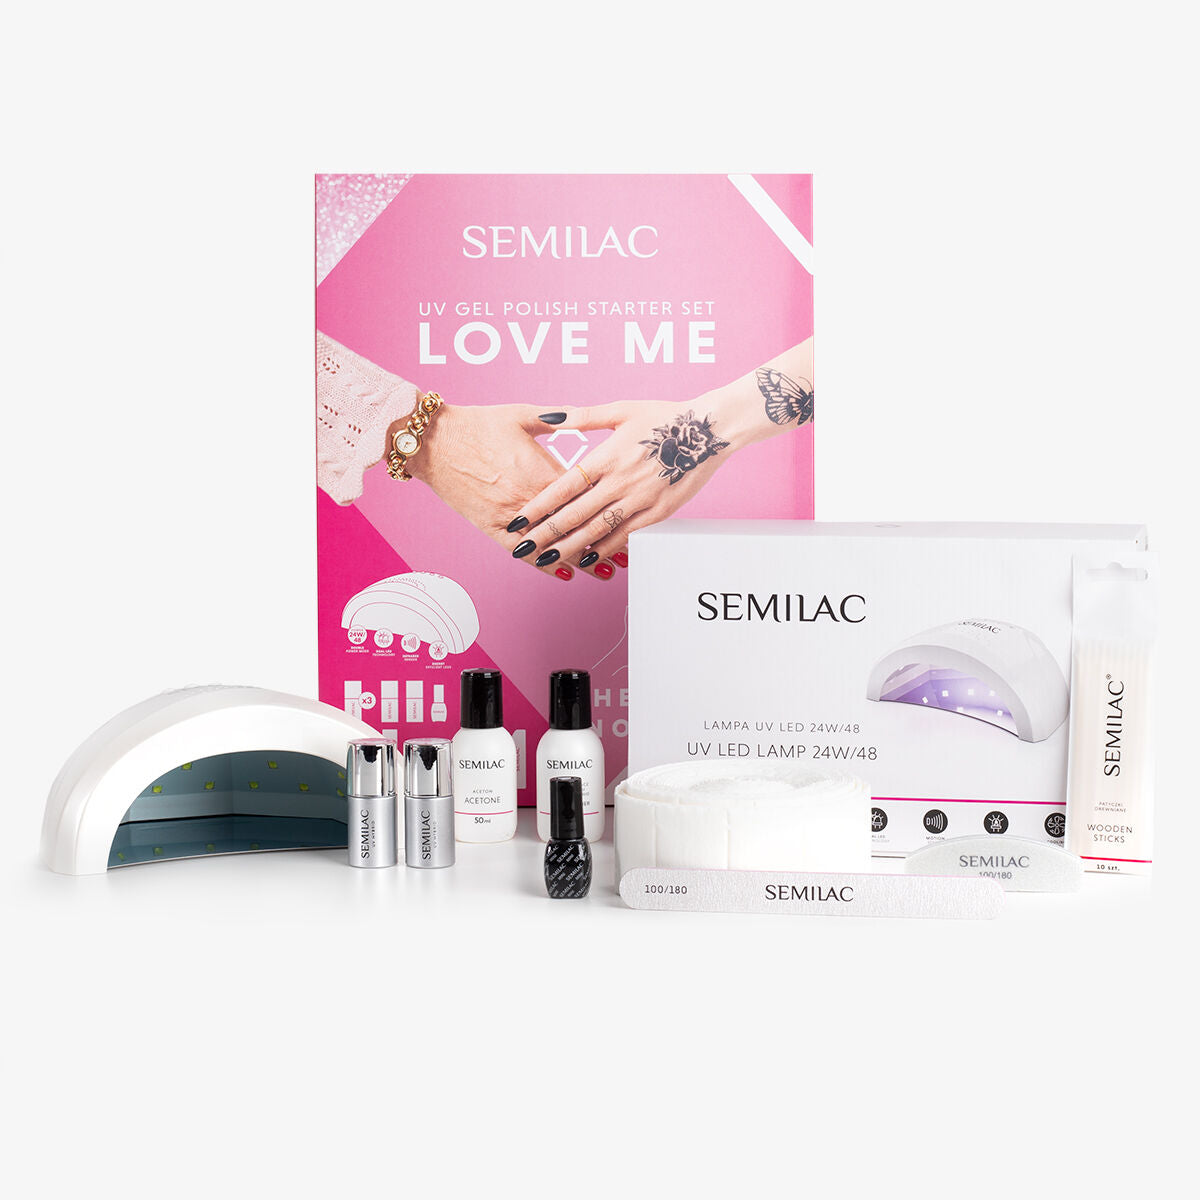
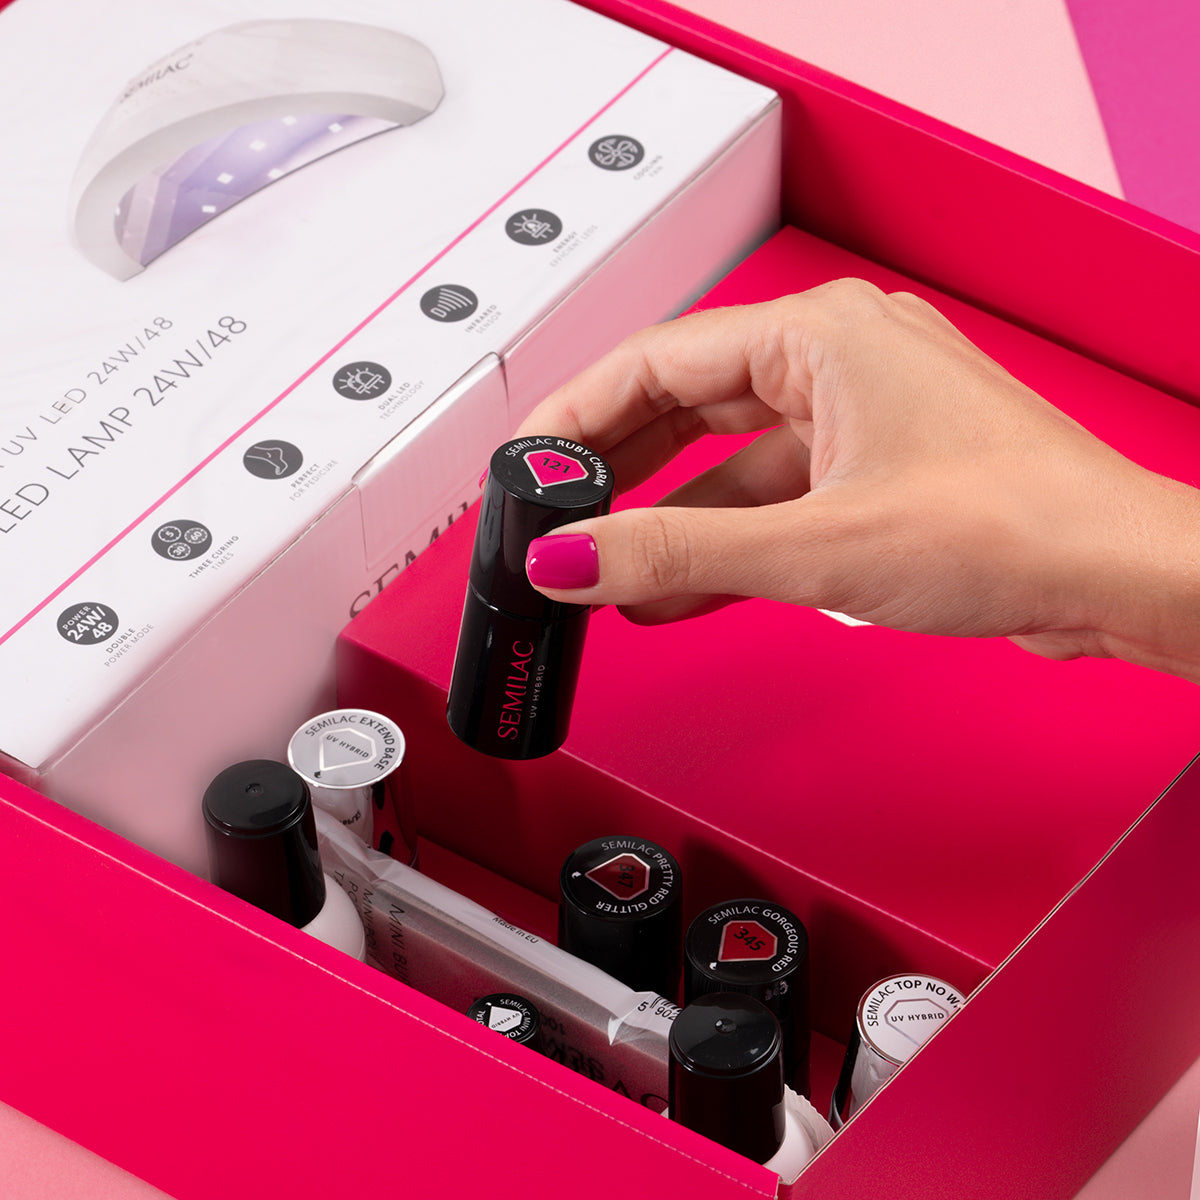
- Gel nail kit: Look for a kit that includes UV base coat, UV gel polish, and top coat. Make sure the kit is compatible with UV or LED lamps for curing the UV gel. Try our Semilac UV Gel Polish Starter Set LOVE ME
- Nail forms: These are essential for creating the desired nail shape. There are various types of forms available, so choose the ones that best suit your needs.
- Builder Gel: It builds up the nail plate and gives it a beautiful, natural look.
- Nail file and buffer: You'll need a file to shape and refine the nails, and a buffer to smooth the surface for a polished finish.
- Cuticle pusher: This tool is used to push back the cuticles and create a clean nail bed for the UV gel application.
- UV or LED lamp: UV gel polish requires curing under a UV or LED lamp to harden and set. Make sure you have a lamp that is compatible with the UV gel products you're using.
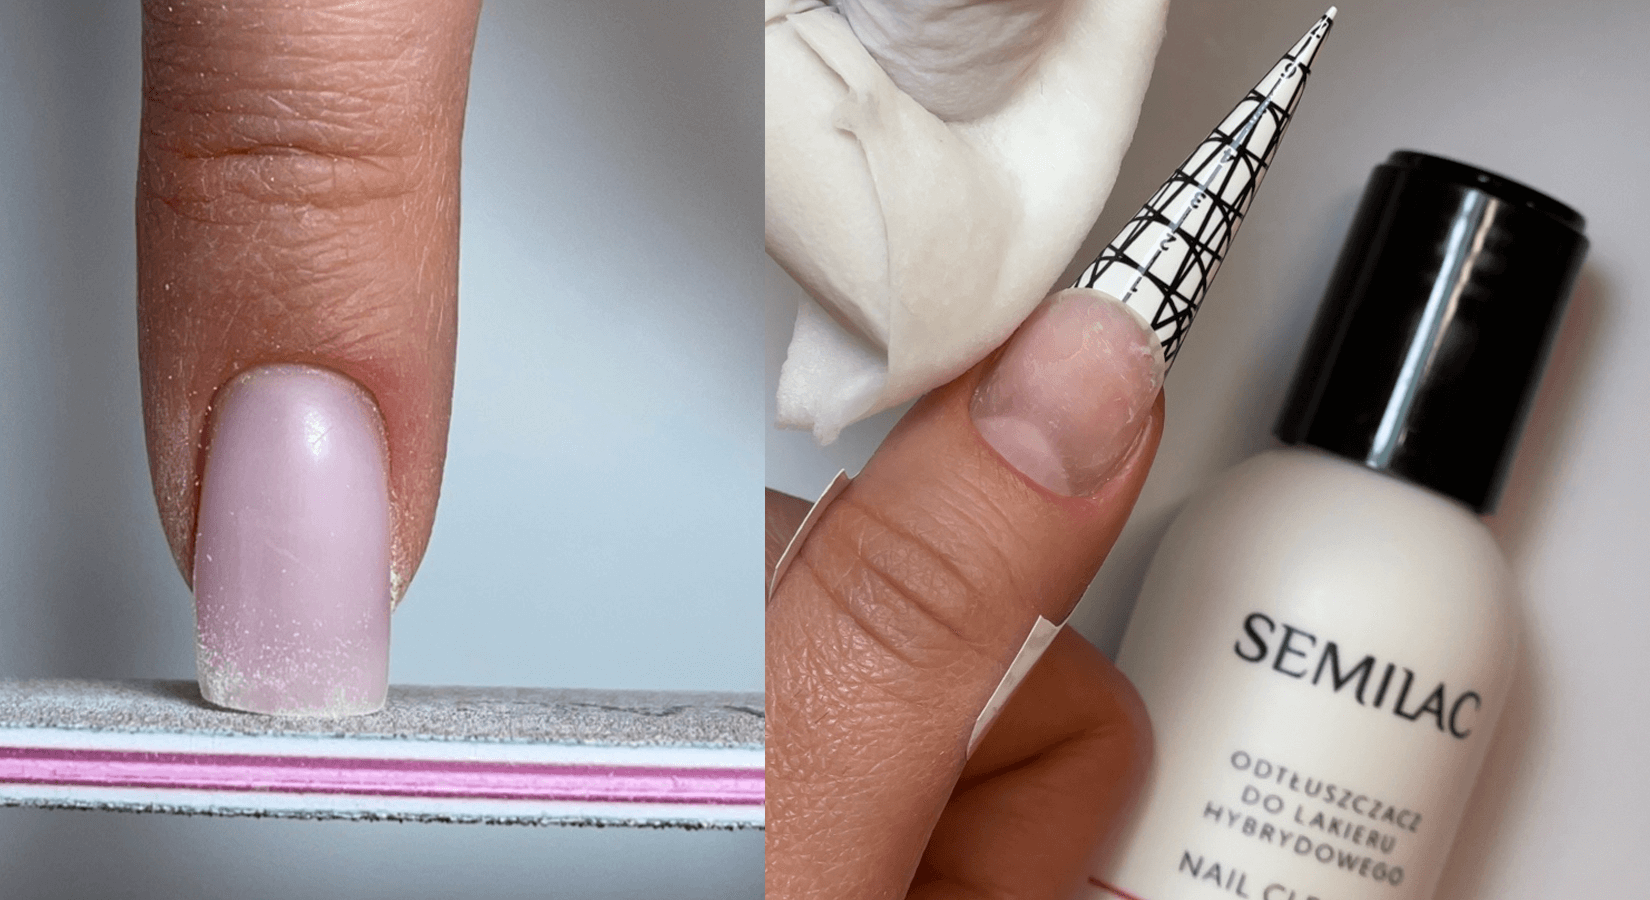
- UV gel nail cleaner: This is used to remove the sticky residue left on the nails after curing the UV gel polish.
Now that you have all the necessary tools and materials, let's move on to the step-by-step process of creating stunning UV gel nails on forms.
Step 1: Prep your natural nails
Before applying any product, it's important to prepare your natural nails. Start by removing any existing nail polish and trimming your nails to the desired length. Use a nail file to shape the edges and smooth out any roughness. Next, gently push back the cuticles using a cuticle pusher. This will create a clean nail bed for the UV gel application.

Step 2: Apply the forms
Once your natural nails are prepped, it's time to apply the nail forms. Take a form and determine the size and shape that best fits your nails. Peel off the backing from the form, and align the curved edge with the base of your nail. Press down firmly to secure the form in place. Repeat this process for all your nails.
Using forms allows you to create different nail shapes, such as square, oval, or stiletto. Experiment with different forms to find the shape that suits your style.

Step 3: Apply the base coat
With the forms in place, it's time to apply the UV base coat. Apply a thin layer of the UV base coat to each nail, making sure to cover the entire nail surface. Be careful not to get any product on the surrounding skin or cuticles. The UV base coat acts as a foundation for the UV gel polish, ensuring a smooth and even application.

Step 4: Create the Extension
Using a Semilac Gel Brush Basic Gel Flat, apply a thin layer of Semilac Builder UV Gel onto the nail forms. Sculpt the UV gel to create the desired shape and length for your extensions. Place your nails under a Semilac UV or LED lamp and cure according to the instructions provided with your Semilac products. This will harden and set the gel.

Step 5: Shape and file the nails

Step 6: Apply the UV gel polish
Now comes the fun part – applying the UV gel polish. Choose your desired colour and apply a thin layer to each nail. Start from the base of the nail and gently brush the polish towards the tip, making sure to cover the entire nail surface. Repeat this process for all your nails.
For a more vibrant colour, you can apply a second coat of UV gel polish. Just make sure to cure each coat under the UV or LED lamp before applying the next layer.

Step 7: Cure the UV gel polish
Once you've applied the UV gel polish, it's time to cure it under the UV or LED lamp. Follow the manufacturer's instructions for the recommended curing time. Place your nails under the lamp and let the UV gel polish harden and set. This process usually takes around 2-3 minutes per coat, depending on the lamp and UV gel product you're using.

Step 7: Apply the top coat and finish the nails